
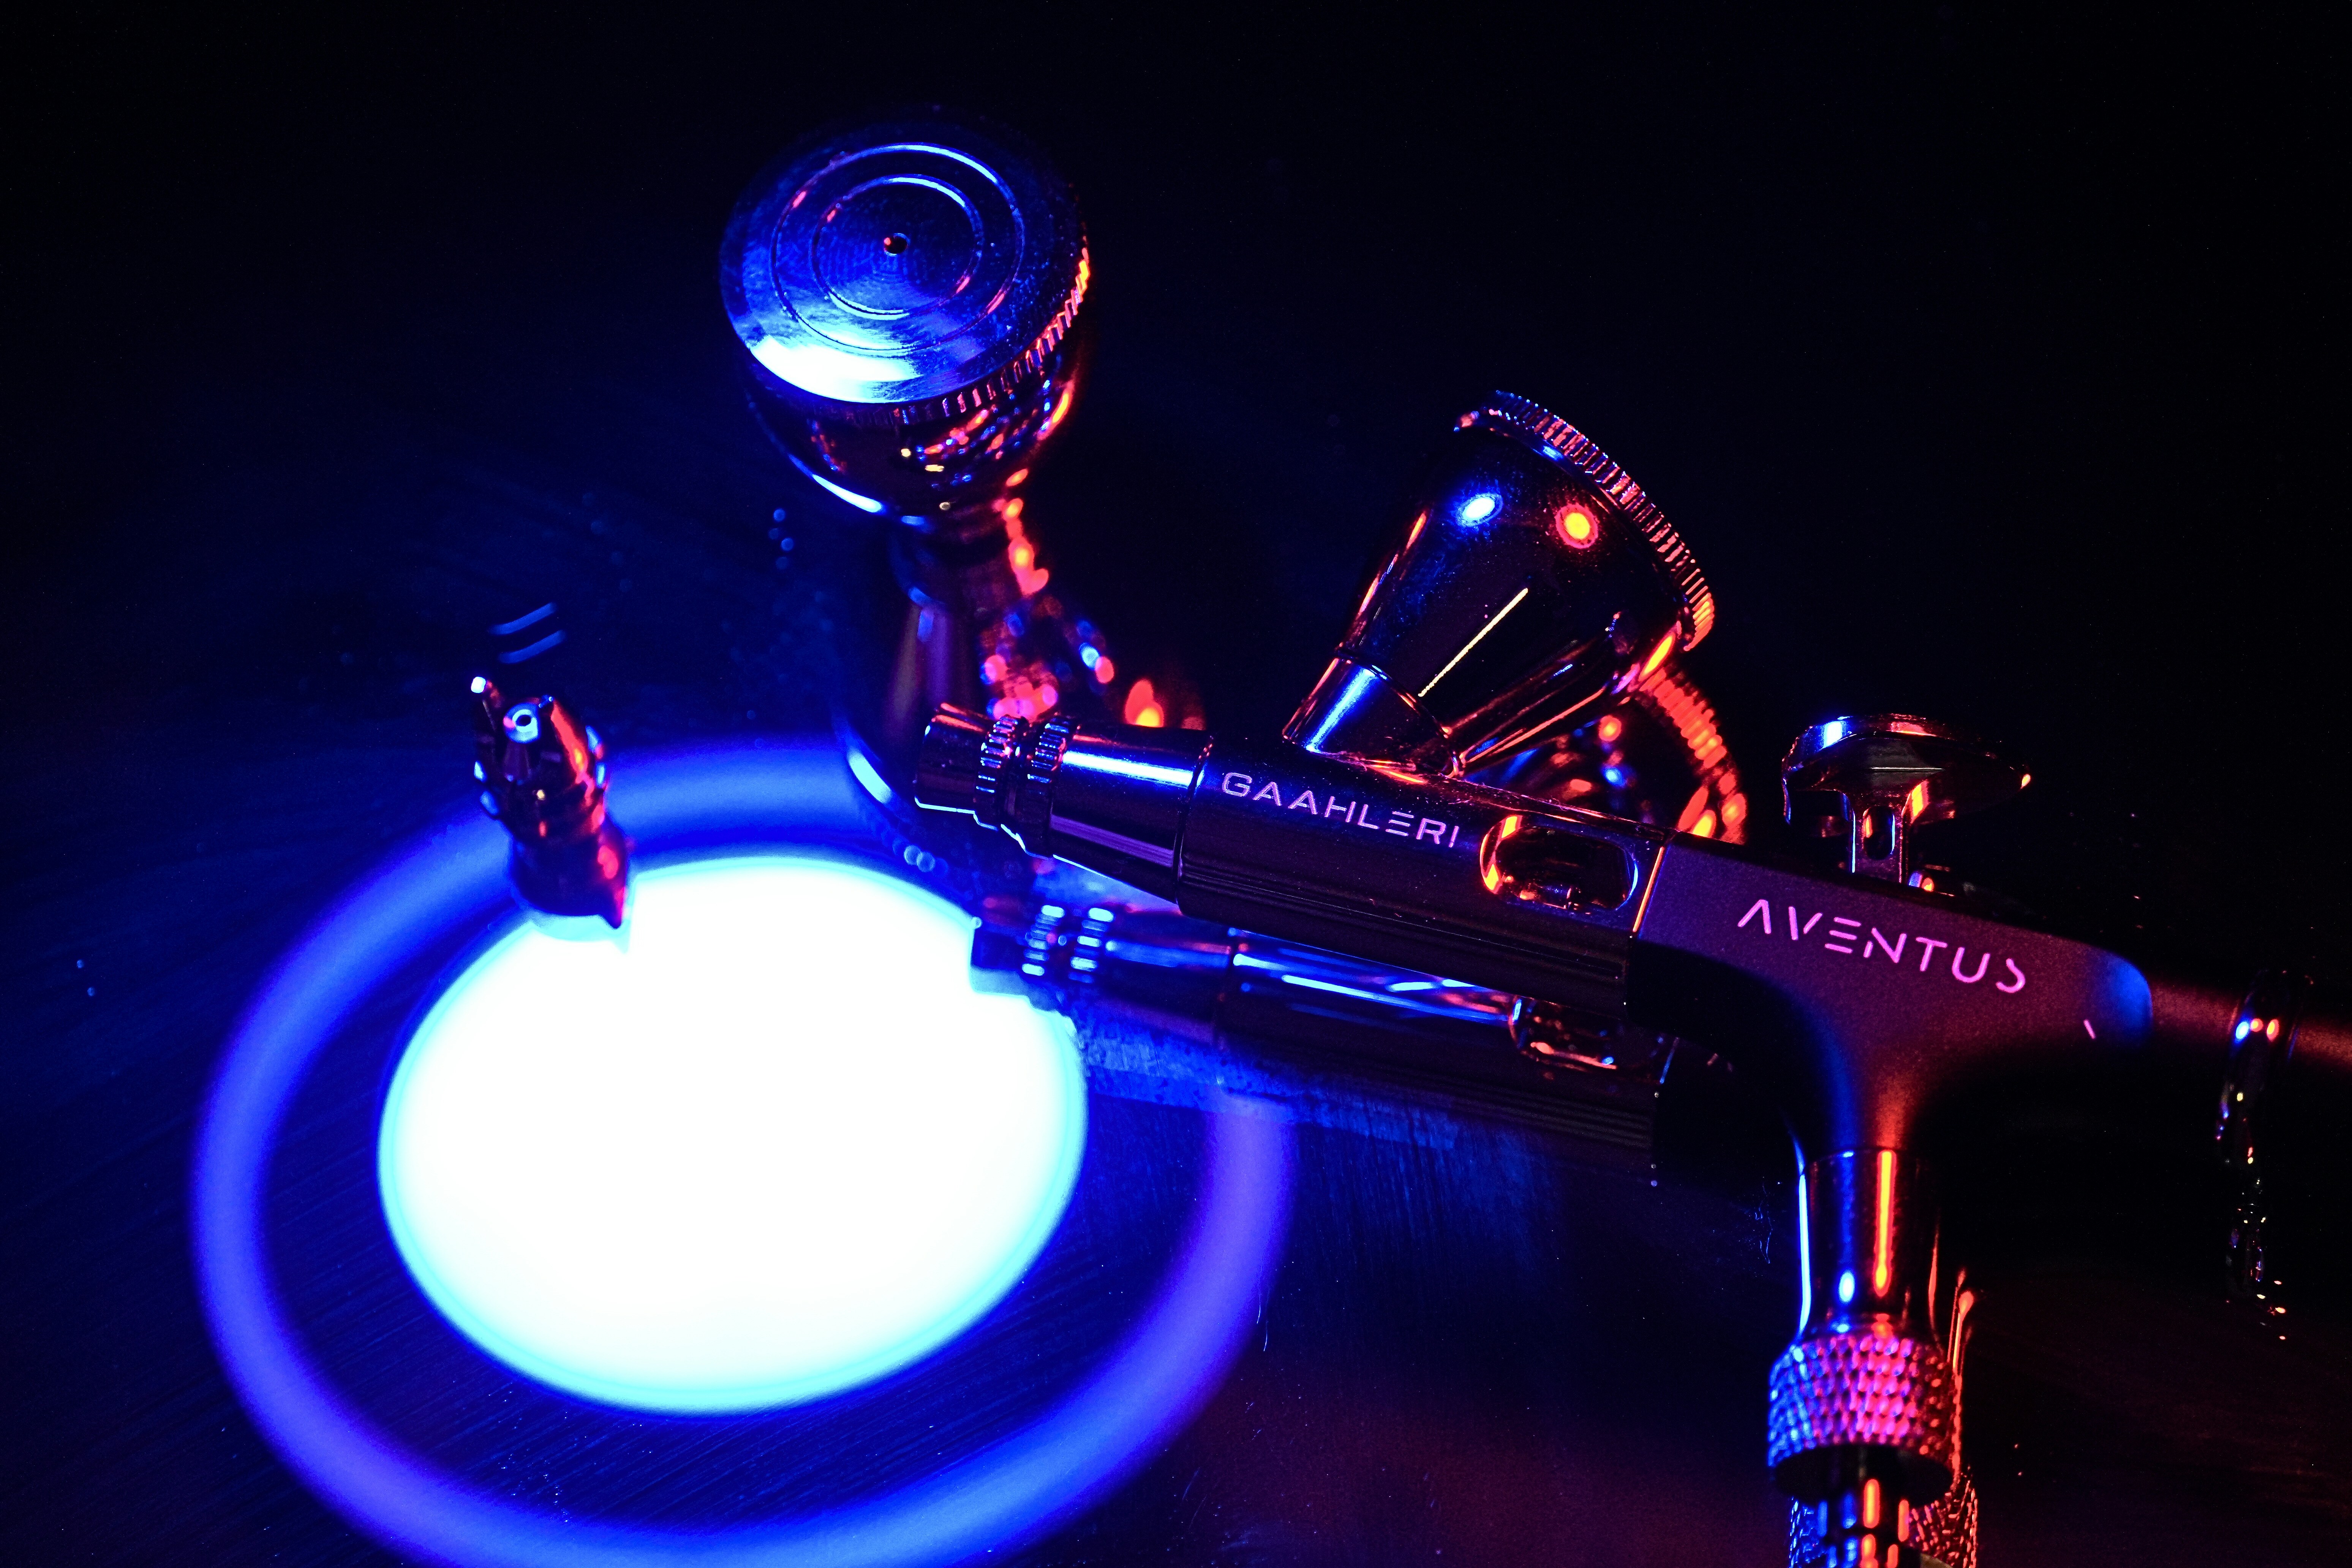
Every few weeks someone messages me a screenshot of an airbrush kit with the words “is this one good?” and I have to give the annoying answer, which is: good for what?
Because there are really three different products being sold under the name “airbrush makeup kit,” and they are not interchangeable. One is a little cordless wand with cartridges. One is a real compressor with a real gun. One is a cheap plastic box that will make you decide airbrush is a scam. I’ve watched people buy the third one, hate it, and swear off airbrush for years.
So before you buy anything, let me walk you through what’s actually in a kit, which pieces matter, and the one decision that determines whether you’ll still be using it in six months.
If you’re brand new to the whole idea, it helps to read what airbrush makeup actually is first. This article assumes you know it’s makeup sprayed on as a fine mist instead of blended in with a sponge, and that you’re now trying to figure out how to do it at home.
The Three Pieces Every Kit Has (and Which One Matters Most)
Strip away the marketing and every airbrush setup is the same three things:
- The compressor. The little motor that makes the air. It’s the piece beginners ignore and the piece that matters most. A weak compressor gives you a sputtering, uneven mist no matter how good the foundation is.
- The gun (or stylus). The handheld part with a trigger and a tiny cup or bottle for product. The trigger controls how much air and how much makeup come out.
- The formula. Airbrush foundation is thinner than bottle foundation so it can pass through the nozzle. It comes water-based, silicone-based, or alcohol-based, and your kit will lock you into one of those unless you buy a gun that accepts all of them.
If your budget only lets you splurge on one thing, splurge on the compressor. You can upgrade foundation shades one bottle at a time. You cannot fix a compressor that can’t hold steady pressure.
Single-Action vs. Dual-Action: The Decision That Actually Matters
Here’s the vocabulary, since nobody explains it on the box.
A single-action gun releases air and makeup together in a fixed ratio when you press the trigger. Press, mist comes out. That’s it. It’s easy, it’s forgiving, and if you want a different level of coverage you change nozzles instead of changing your technique.
A dual-action gun separates the two: press down for air, pull back for makeup. You control the ratio live, which means you can go from a sheer wash to full coverage without stopping. It’s more capable and it takes real practice. I started on single-action and it took me a minute to move up. I don’t regret starting there.
My honest take for a first kit: single-action if you want to be wearing it next week, dual-action if you’re willing to practice on your arm for a while first. Neither is wrong. Buying dual-action because it’s “the professional one” and then never learning the trigger is the wrong one.
Cordless Cartridge Systems vs. Compressor Kits
This is the split that confuses people most right now, because the cordless cartridge wands are everywhere on social media.
Cordless cartridge systems are a small handheld device with a built-in motor. The makeup comes in pre-filled pods or refillable cartridges that click in. No hose, no separate compressor, no cleaning a cup between colors. You charge it like a toothbrush.
What I like: they’re the least intimidating way to try airbrush, they travel well, and the mess is minimal. I’ve handed one to nervous clients who wanted to practice at home and they used it.
What I don’t like: the cartridge locks you into that brand’s formula and shade range, the pods cost more per ounce than bottled foundation, and the motors are gentler than a true compressor. Fine for a face. Not built for full coverage or body work.
Compressor kits are the traditional setup: a small compressor with a hose running to a gun, plus a few bottles of foundation. This is what’s in my kit and what I’ve used for hundreds of brides. Steadier pressure, more control, works with any airbrush formula the gun is rated for, and you can adjust PSI (air pressure, measured in pounds per square inch) as you learn. Most face work happens somewhere around 30 to 40 PSI.
The trade-off is that you have to clean it properly every time, it’s a little louder, and it isn’t going in your purse.
If you mostly want easier everyday foundation, a cordless system is a reasonable place to start. If you want to learn airbrush as a skill, or you’re thinking about doing it for other people, buy the compressor.
What Should a Beginner Kit Actually Cost?
I’m going to give ranges rather than exact prices because they change constantly and I’m not in the business of pushing a specific box.
At the time I’m writing this, a cordless cartridge starter set from a well-known brand runs roughly in the low-to-mid hundreds. A compressor-and-gun kit with a few foundation bottles from a brand that professionals actually use lands in a similar range or a bit higher. Cheap all-in-one kits sit well under a hundred dollars, and that’s where most of the “airbrush doesn’t work” stories come from.
Here’s what I’d tell a friend: if the whole kit including compressor, gun, and foundation costs less than a decent dinner out, the compressor is the corner that got cut. It will sputter, the mist will land in dots instead of a haze, and you will blame the technique when it’s the machine.
You don’t have to spend a fortune. You do have to spend enough that the air is steady.
What’s Actually in the Box (and What Isn’t)
A reasonable beginner kit should include:
- The compressor or cordless device
- One gun with a small product cup, or a set of cartridges
- Three to six foundation shades you can mix, or one closely matched shade if it’s a cartridge system
- A cleaning solution and instructions on how to flush the gun
- A hose, if it’s a compressor system
Things that are often in the box and mostly there to justify the price: highlighter and blush in shades that may or may not suit you, stencils, a carrying case, and a tiny bottle of “primer” that isn’t enough for two weeks.
Things that are rarely in the box and you’ll actually want: extra cleaning solution (you will run out fast), a small mixing bottle, blotting papers, and a setting powder for the areas that get oily.
One thing I want to be clear on: do not put regular bottle foundation in an airbrush gun. Even thinned out. It’s a different consistency, it will clog the nozzle, and the resulting mess is not worth the money you saved.
The Mistake Almost Every Beginner Makes
Buying too many shades before learning the trigger.
Airbrush foundation mixes easily and layers in thin passes, so two or three shades that bracket your skin tone will get you further than a rainbow you don’t know how to use. Spend your first two weeks with one shade and one goal: a smooth, even haze on the back of your hand, then your jawline, then your whole face. The distance from the skin, the speed of your sweep, and the pressure you’re comfortable with are what you’re learning. The shade can wait.
The second mistake is skipping cleaning. Silicone-based product especially will set up inside the gun if you leave it overnight, and then you’re soaking parts and watching tutorials at midnight. Flush the gun with the cleaner every single time. Every time. Yes, even when you’re tired.
The third is comparing your first week to a wedding photo. Those brides had prepped skin, a trained artist, and a full day’s worth of setting and touch-ups. It’s worth reading up on airbrush vs. traditional makeup and how long airbrush makeup lasts so your expectations for wear time and finish are realistic before you judge the kit.
Should You Even Buy a Kit?
Not everyone should, and I’d rather say that than sell you one.
If you wear light makeup three days a week and you’re happy with a sponge, a kit is probably going to live in a drawer. Traditional makeup is faster to learn, easier to correct, and gives you more shade options.
If you’re buying a kit only because you want airbrush for one specific event, book a professional for that day instead. It’s cheaper than the kit, and you’ll get a better result than a beginner can manage on themselves. I go into that in airbrush makeup for weddings.
Buy a kit if any of these are true: you want that even, lightweight finish regularly, you have redness or texture that a mist covers better than buffing does, you’re curious about it as a skill, or you’re an artist thinking about adding it to your services. For those people it earns its spot.
Frequently Asked Questions
What is the easiest airbrush makeup kit for a beginner?
A cordless cartridge system is the easiest to pick up because there’s no hose, no compressor settings, and no cup to clean between colors. It’s also the most limited. If ease is your priority, start there. If skill is your priority, start with a single-action gun on a small compressor.
Do I need a compressor for airbrush makeup?
For a true airbrush finish, yes. Cordless devices have a small motor built in, which is enough for a light face application, but a separate compressor gives steadier pressure and more control. The compressor is the piece worth spending on.
Can I use regular foundation in an airbrush kit?
No. Regular foundation is too thick for the nozzle even when thinned, and it will clog and clean poorly. Use a foundation made for airbrush, and only the formula type your gun is designed for.
How long does it take to learn airbrush makeup at home?
Most people get a smooth, even base within a couple of weeks of short daily practice on a single-action gun. Dual-action takes longer because you’re learning to control air and product separately. Practice on your hand and jawline before your whole face.
The Bottom Line
A beginner airbrush kit is three parts, and the compressor is the one that decides whether you’ll like it. Choose single-action if you want results this week, dual-action if you’re willing to practice. Choose a cordless cartridge system for convenience or a compressor kit for control and room to grow. Skip the cheapest boxes, buy fewer shades than you think you need, and clean the gun every time.
And if you’re still not sure airbrush is for you, don’t start with a kit. Start with one appointment with someone who does this for a living and see how it feels on your own skin. That’s how most of my clients found their way to it, and it’s still how I’d recommend it.
This piece is part of our Airbrush Fundamentals series.
Sources
- Airbrush Guns Demystified, Beautylish
- Airbrush Makeup Kits for Beginners, TEMPTU (product collection, reviewed for kit types and configurations)
- Best Airbrush Make Up Kit, Beautylish community discussion
- Silicone Based vs Water Based Airbrush Makeup, The Airbrush Makeup Guru